Hi, fish friends! This was a by-request post by one of our top fans, so thank you! You’re always welcome to suggest new posts to us.
You’ve got your tank all cycled, decorated, and stocked with gorgeous fish. Now you’re wondering: what do I need to do each week? Each month? What tools do I need? This is our step-by-step guide to aquarium maintenance. Maintenance looks a little bit different for everybody, but the basics are the same. You have water changes, plant care, substrate vacuuming, glass cleaning, water testing, and filter rinsing. Some things you do every week, others you do much less often.
WEEKLY
Test Your Water
What you need: a test kit
Before your water change, you should test your water, to ensure that your water has no ammonia or nitrite and that your nitrate isn’t too high. The API Master Test Kit is a great choice for this, though we also carry test strips. Directions for the products are detailed on the packaging. Has your tank been running for over four months without any changes or ammonia/nitrite spikes? You can probably just test the water every other week, instead.
Vacuum Your Substrate & Change Your Water
What you need: bucket, gravel vacuum, water conditioner,
Weekly water changes are important for many reasons, including to remove excess nitrate and to remineralize the water. Before you start this process, be sure to turn off your heater and your filter, or be very careful that the water level doesn’t get too low, and cause them to run dry.
When you change your water, use this opportunity to remove any excess waste from the bottom of the aquarium, and to tidy up a bit. Those with carpeting plants may not use a substrate vacuum, but most people who use gravel or sand will find it useful. If you have fry (shrimp or fish) you may want to wrap the intake in a bit of mesh, like pantyhose, to ensure they don’t get sucked up. Different vacuums exist, including ones with a hand pump, and ones that need to start with gravity.Whichever you choose, ensure you keep the tank above the (clean) bucket you’re pouring the water into. If it’s sand, swirl the end just above the sand to capture the debris. If you have gravel, you can push the end right into the small rocks, and then pull it back; this will ensure you get the bits that fall between the stones. Once you’ve got all of the debris, you can either continue to
Wondering how much water to remove? This depends on your aquarium. A common suggestion is 25% every week, and that’s usually just fine, but more is even better. If you have a lot of fish, 50-75% changes are great. Once you’ve siphoned the water into the bucket (careful not to get any fish!) and emptied the bucket (either into your houseplants or into the toilet), it’s time to fill the bucket up with clean water. Ensure it’s as close to the temperature of your aquarium as possible, and add the appropriate amount of water conditioner. Let the water sit for a few minutes, and then slowly add the clean conditioned water into the aquarium. Turn your heater and your filter back on (ensure you prime your filter by pouring tank water into the back if necessary).
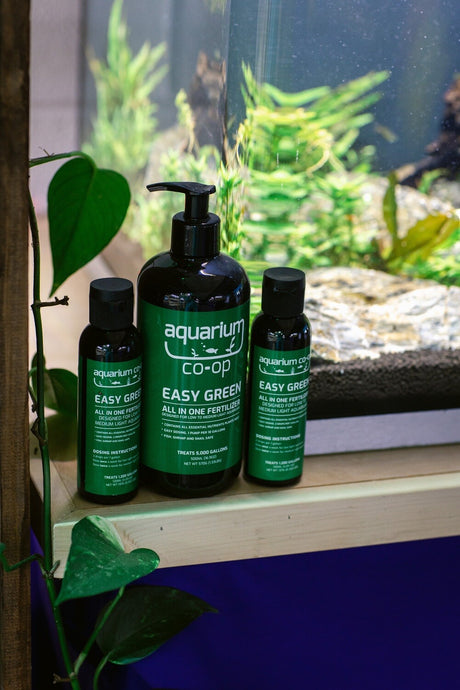
Add Liquid Plant Fertilizer
What you need: your choice of plant fertilizer
If you have a planted aquarium, it’s a great idea to add a liquid fertilizer once a week. The directions will be on the bottle.
BIWEEKLY
Trim the Plants & Smooth the Substrate
What you need: an aquascaping kit
If you have live plants (which we do recommend), you should trim them every other week, if needed. This is also your opportunity to smooth out the substrate, take away some floating plants, and generally review your decor. Try to just do this every other week, instead of constantly fiddling with it every day. Your fish will appreciate you keeping your hands to yourself.
Clean the Glass
What you need: a brush and a rag
Every other week, you should clean the glass, inside and out. For the inside of the glass, you can use a sponge on a handle. If you have stubborn algae, you can use a razor blade to get it off. For the outside of the glass, clear up water spots and fingerprints with a damp rag, and buff it dry.
MONTHLY
Change Your Carbon or Recharge Your Purigen
What you need: a new carbon pack, or bleach, Seachem Prime, and a plastic container
Chemical water cleaners aren’t required, but if you do use them, they require a bit more upkeep. Carbon should be replaced every 4 weeks, to ensure it’s benefiting and not harming your water. Purigen can last up to a year, but it does still need to be ‘recharged’ every month. What you need to do is turn off your filter, and remove the chemical media (the rest is fine to stay). If it’s carbon, take your new carbon pack, and place it where the old one was. Put your filter back, and turn it on (remember to prime it if necessary!). If you have Purigen, you need to recharge, which takes about a couple of days, so turn your filter back on without any chemical filtration in it. Take your Purigen, and place it in a small plastic container. Pour over it one cup of water, and one cup of bleach. If the Purigen isn’t covered, add more bleach and water in equal amounts. Stir it up, and let it sit for 24 hours. It may stink, so don’t keep it in a popular part of your house. Now rinse your bag of Purigen very very well. Like, five solid minutes under cool running water, while moving the pellets around in your hands. Now the Purigen is free from contaminants, it’s time to get it ready for your aquarium. Rinse the bowl you used before very well, making sure it no longer smells like bleach. Add one cup of water and two tablespoons of Seachem Prime (or more using the same ratio), ensuring the bag is totally covered. Let it sit for eight hours. Now rinse the bowl and the bag, and soak in another dose of water and prime, but this time for just five minutes. Now turn off your filter, add your Purigen back in, and turn it on again.
EVERY 2-3 MONTHS
Rinse Your Filter Media
What you need: a bucket of dirty tank water
Depending on your filter type, it’s a good idea to rinse your filter sponge occasionally. If it looks particularly grubby, you should rinse it off; be sure to use dechlorinated water! Ideally, you rinse it in the water you removed from your aquarium during a water change. Why use dechlorinated water? The majority of your beneficial bacteria live on these surfaces, and you want to keep them healthy. If the sponge has no build-up, you can skip the rinse. Avoid changing your filter media unless it’s chemical (as listed above) or it’s falling apart.
Add Root Tabs
What you need: root tabs
If you have a planted aquarium, it’s a good idea to add root tabs (supplements) under the substrate. They should be replaced every three months or so.
What do you think? Did we miss anything? Let us know in the comments, and happy aquarium keeping.